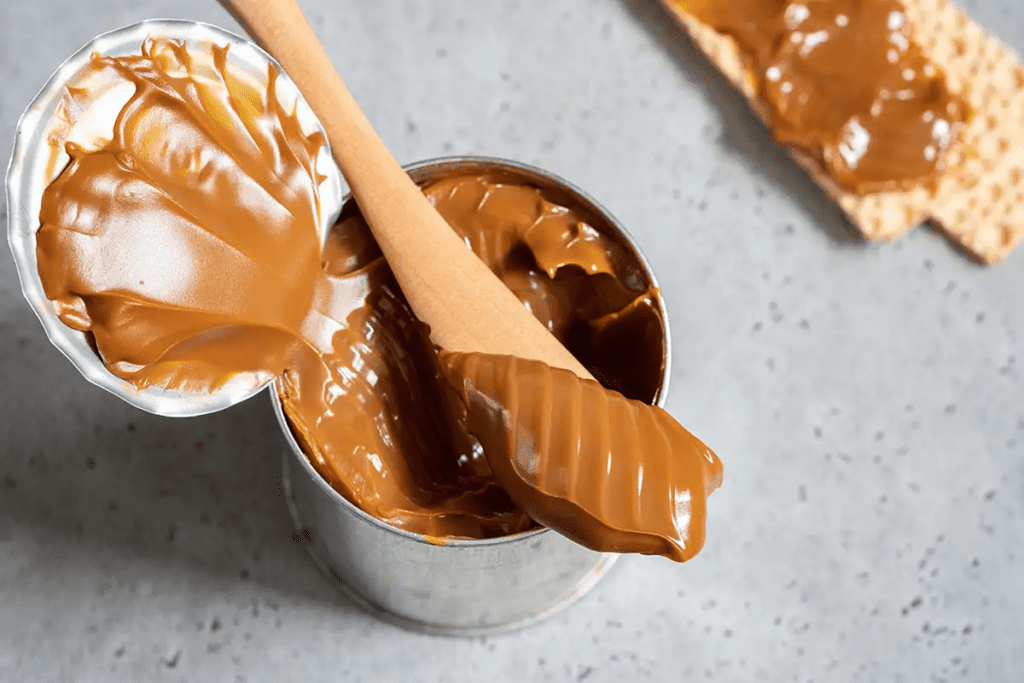
Turning condensed milk into caramel couldn’t be easier, and the sweet and gooey treat is perfect for incorporating into a range of desserts.
In just three easy steps you can turn store-bought or home-made condensed milk into gooey caramel. All you need is a saucepan, some heat and sugar to get started!
Prepare the Condensed Milk

The first step to making caramel out of condensed milk is to open the can and pour its contents into a heavy-bottomed saucepan.
The choice of pan is important as it needs to be thick enough not to have any hot spots which could cause your condensed milk to burn.
Heat the Condensed Milk
Once you have your condensed milk in the pan place it over a low heat. Depending on your stovetop this should roughly translate to medium-low or low heat setting.
You want to gradually bring the temperature up rather than heating it too quickly as extreme temperatures can cause the sugar content in condensed milk to burn.
To ensure an even temperature distribution stir occasionally while heating up until small bubbles form in the center of the milk indicating that it’s almost ready.
Remove From Heat And Add Sugar
Once tiny bubbles have been observed on the surface of your condensed milk it’s time remove it from heat and add sugar if desired (this isn’t necessary if you already think it’s sweet enough).
Sprinkle with white or brown sugar in whatever quantity suits your taste buds and mix well then continue stirring over medium heat until all granules have been dissolved completely forming a smooth paste resembling caramel.
Let cool before adding to refreshments or enjoying as part of baking desserts such as pies, cookies, brownies etc.
Have you ever wanted to make something sweet and delicious out of your pantry ingredients? If so, then condensed milk into caramel might be the recipe you’re looking for.
Condensed milk into caramel is a fast, easy and delicious way to enjoy some home-made sweetness using items you likely have in your pantry! Here”s how you do it:
Ingredients
• 1 Can of Sweetened Condensed Milk
• 2 Tbsp Butter
• 1/4 tsp Vanilla Extract
Instructions
1. Grease an 8×8 baking dish with butter and set aside. Preheat the oven to 375 degrees Fahrenheit.
2. Put the can of condensed milk into a large bowl; add in the butter and vanilla extract and stir until all ingredients are combined evenly.
3. Pour the mixture into the greased baking dish and spread evenly; place in preheated oven for 30 minutes or until golden brown on top.
4. Remove from oven and allow to cool completely before cutting into squares; serve as desired and enjoy!
You now know how to quickly turn condensed milk into delicious caramel treats! This recipe can be adapted to include additional flavorings like cinnamon, nutmeg, or other extracts.
Feel free to experiment with different flavors according to your taste preferences.
And don’t forget, if you’d like an extra gooey texture, try baking just one minute less than suggested above!
The Caramel Is Done When It Reaches an Amber Color
When the milk reduces significantly and begins to turn an amber color, that is when you know it is done! Make sure to keep an eye on the caramels while they reduce .
If they start burning or sticking to the bottom of the pan (from being reduced too much) they will not taste great!
Cool Your Caramel Before Using
Once cooked through, remove the caramels from their heat source and transfer them back into their original can if desired.
Allow them plenty of time cool down before attempting to use them in baking recipes or just eat plain as is!
Enjoy Your Homemade Caramel
Once cooled completely, your homemade condensed milk caramel should be ready for use or eating as-is!
Enjoy this sweet duet anytime as a way to add some quick sweetness without all fuss of traditional (and sometimes intimidating) homemade caramels!


Leave a Reply