Proof Dough in Oven – Making bread from scratch doesn’t have to be difficult. With just a few ingredients and a little bit of effort, you can make delicious homemade bread that your family will love.
The key to achieving the perfect texture and flavor is properly proofing the dough. But how do you do it?
Traditional recipes suggest that after being mixed and kneaded, raw dough must be left in a warm place for several hours or even overnight to allow the yeast to activate and expand, resulting in a risen loaf of bread with a light and airy texture.
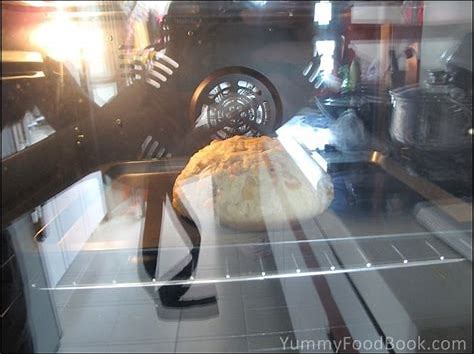
However, modern home bakers are finding different methods for achieving these results, including proofing the dough directly in an oven pre-heated to the right temperature.
Proofing dough directly in an oven can be an easy way to achieve the fluffy texture and smell of freshly baked bread without having to wait hours or even days for the proofing process to finish.
In this article, we will discuss how this method works, as well as tips on how to make sure your loaf of bread turns out perfectly every time.

How to Proof Dough in Oven
1. Preheat oven to the desired temperature. Depending on the type of dough you are using, this can range from 80-90°F (27-32°C).
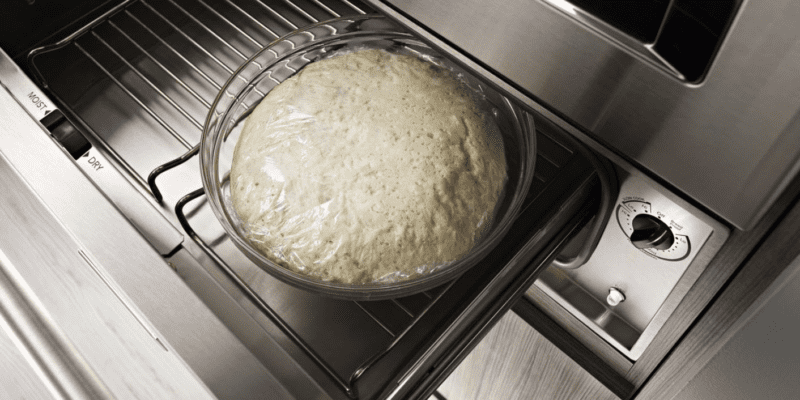
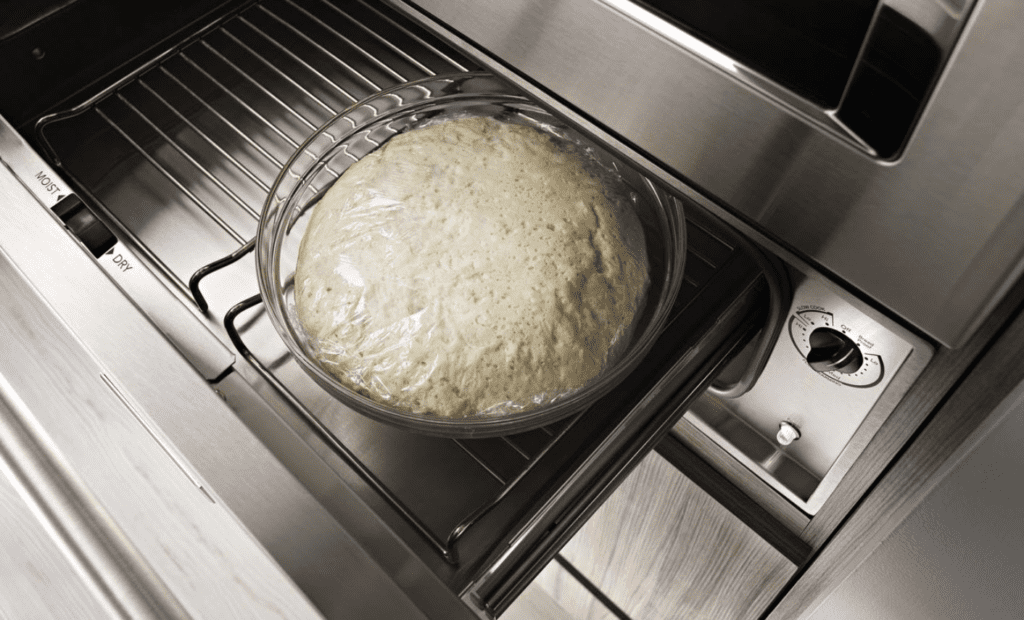
2. Place your raw dough in an oven-safe bowl or container and cover it with a damp cloth or plastic wrap.
3. Place the covered bowl in the preheated oven and let it sit for 1-2 hours, or until the dough has doubled in size.
4. Once the dough has proofed, remove it from the oven and proceed with baking as usual.
Tips for Proofing Dough in Oven
1. Make sure to use an oven-safe bowl or container when proof dough in oven.
2. Check on your dough periodically to make sure it is not rising too quickly or too slowly.
3. If the dough is rising too quickly, reduce the oven temperature slightly.
4. If the dough is not rising at all, increase the oven temperature slightly.
5. Make sure to keep the bowl covered while proofing in order to retain moisture and prevent drying out of the dough.
6. If you are proofing dough overnight, turn off the oven and leave the bowl inside to allow the dough to rise slowly.
7. Once your dough has doubled in size, it is ready for baking.
8. Be sure to remove the bowl from the oven before preheating for baking.
9. After baking, let your loaf of bread cool completely before slicing or serving.
Benefits of Proofing Dough in Oven
1. Faster proofing time: Proofing dough in an oven can reduce the amount of time needed for the dough to rise, allowing you to enjoy freshly baked bread in a fraction of the time.
2. More consistent results: By controlling the temperature and humidity levels in the oven, you can ensure that your dough rises consistently every time.
3. Easier clean-up: With no need to wait for the dough to rise in a warm place, you can avoid having to clean up any mess afterwards.
Proofing your dough in an oven is a great way to achieve delicious homemade bread without having to wait hours or even days for the proofing process to finish. With just a few simple steps and tips, you can enjoy freshly baked bread in no time!
Conclusion
Proof dough in oven is a great way to achieve delicious homemade bread without having to wait hours or even days for the proofing process to finish.
By preheating the oven to the right temperature and using an oven-safe bowl or container, you can ensure that your dough rises consistently every time.
Additionally, this method can reduce the amount of time needed for the proofing process, allowing you to enjoy freshly baked bread in a fraction of the time.
With just a few simple steps and tips, you can enjoy freshly baked bread in no time!


