What is proof on oven? Proofing is a vital part of baking that helps to ensure the quality of your finished product.
Whether you’re using a commercial or home oven, knowing how to effectively proof dough is essential for optimum results. Here’s an overview of everything you need to know about proof on oven:
What Is Proofing?
Proofing is the process of allowing yeast or other leavening agents to activate by moistening and warming them up prior to baking.
By allowing pre-dough (known as “sponge”) or dough proper to rise before exposing it to heat in the oven, more expansion and tenderness will be possible in the finished baked item.
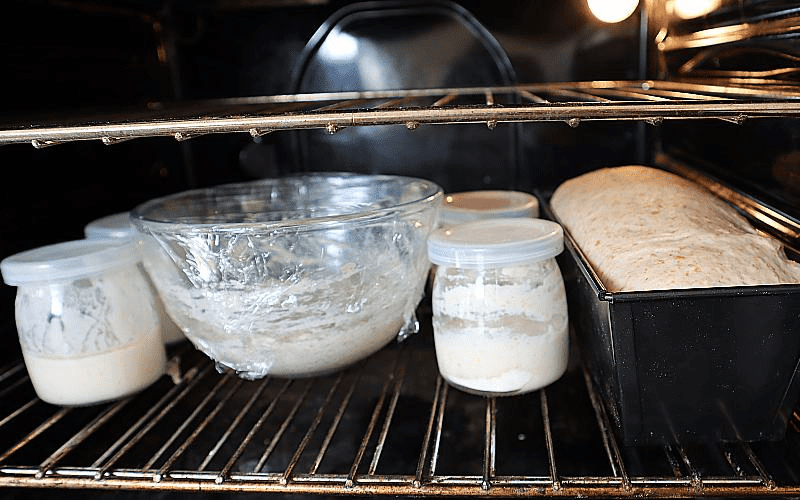
What is Proof on Oven?
Proof on oven refers to the process of testing and inspecting an oven for any signs of fault or damage.
It’s important to have proof on your oven in order to have a safe cooking environment as it helps detect any potential issues with the appliance before they become serious or dangerous.
Understanding how to properly inspect your oven will help you determine when it’s time to repair or replace your appliance – ensuring that you’re able to cook safely and efficiently.
How Should You Proof Your Oven?
It’s important to visually inspect your oven before each use in order to detect any signs of problem.
In addition, you should also conduct physical tests if possible, such as running the ignition switch, touching items in the cleaning cycle or checking inside by hand.
Any abnormality noticed during these checks should be taken as an indicator that there may be an issue with your appliance and professional repairs should be sought immediately.
When Should You Have Your Oven Checked?
As a general rule, it’s recommended to have your oven checked at least once every year – especially if it is used frequently for high-temperature cooking processes.
Additionally, you should arrange for proper maintenance services if you notice peculiar smells emanating from the appliance when in use, flickering lights or abnormal noises coming from within the device itself.
Where Should You Place The Dough For Proofing?
Dough should be placed on a dry, non-stick surface like cake boards and pre-greased baking sheets when proofing in an oven.
Ensure that your work surface is free of moisture, flour, sugar and other substances which might encourage sticking.
Also make sure there are no foreign objects like knives or pans nearby which could puncture your dough during the proofing process.
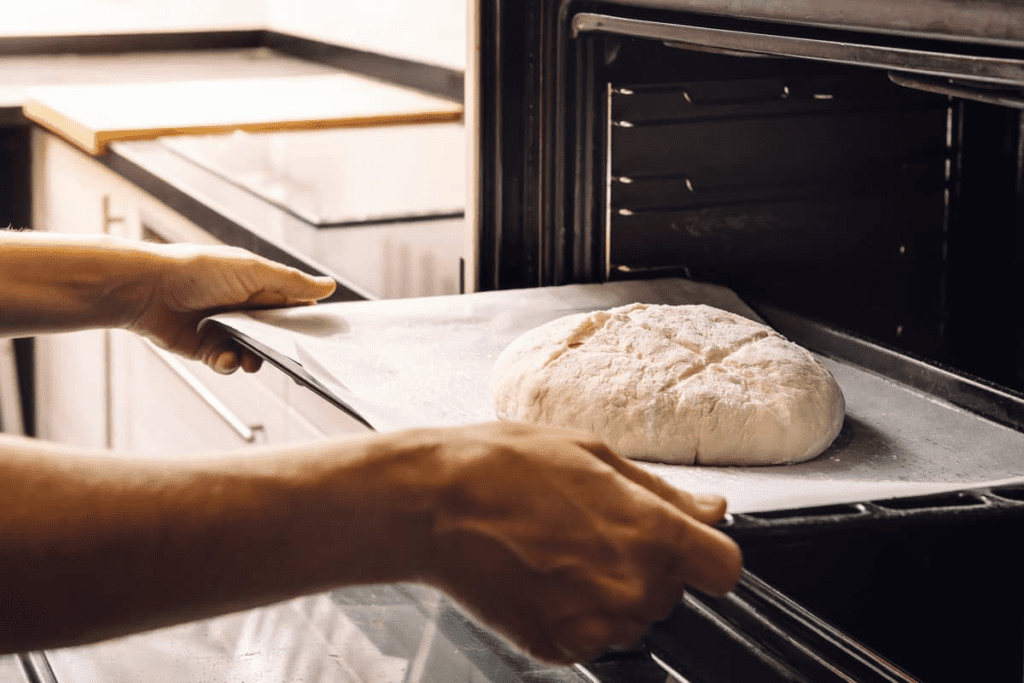
How Long Does It Take To Proof Dough In The Oven?
The length of time needed for proofing will depend on the type of dough and temperature used. Generally, most recipes call for proofing at temperatures slightly below body temperature (around 90 degrees Fahrenheit).
At these temperatures, it should take anywhere from 1-3 hours for large loaves such as sourdough breads or small rolls such as croissants to properly rise before being placed in the oven.
Why Is Proving Temperature Important?
The ideal proving temperature for different types of dough can vary quite drastically depending on the recipe used, making correct proving temperatures essential for fantastic results in your final baked goods.
Too hot a proving environment can cause excessive rising while too cold a proving environment can stop yeast activity altogether—both leading to inferior results with certain bakes.
As a rule of thumb, if you want vigorous rising action then try increasing your prooving temperature slightly above body temperature but still just below boiling point.
If you want slower rising then slightly decrease prooving temperature just below body temepature but still above freezing point.
Conclusion
Proving correctly is an important step in ensuring excellent quality baked products every time you pull something out of the oven so understanding how best to do it is key!
With this guide we hope that now you are confident enough with knowing what type of surface and temerpature best suit different types of doughs as well as being aware on managing time frames accordingly when overseeing prooving processes while baking!


Leave a Reply